How do I: Create a custom form
Learn how to build custom forms for data collection and employee surveys.
Overview
Custom forms allow you to create structured data collection forms for surveys, feedback, compliance forms, onboarding paperwork, and more. You can add various field types, set validation rules, and distribute forms to specific employees or groups.
Note
Custom Forms is a Pro feature. Ensure your organization has a Pro subscription to access this functionality.
Accessing Forms Management
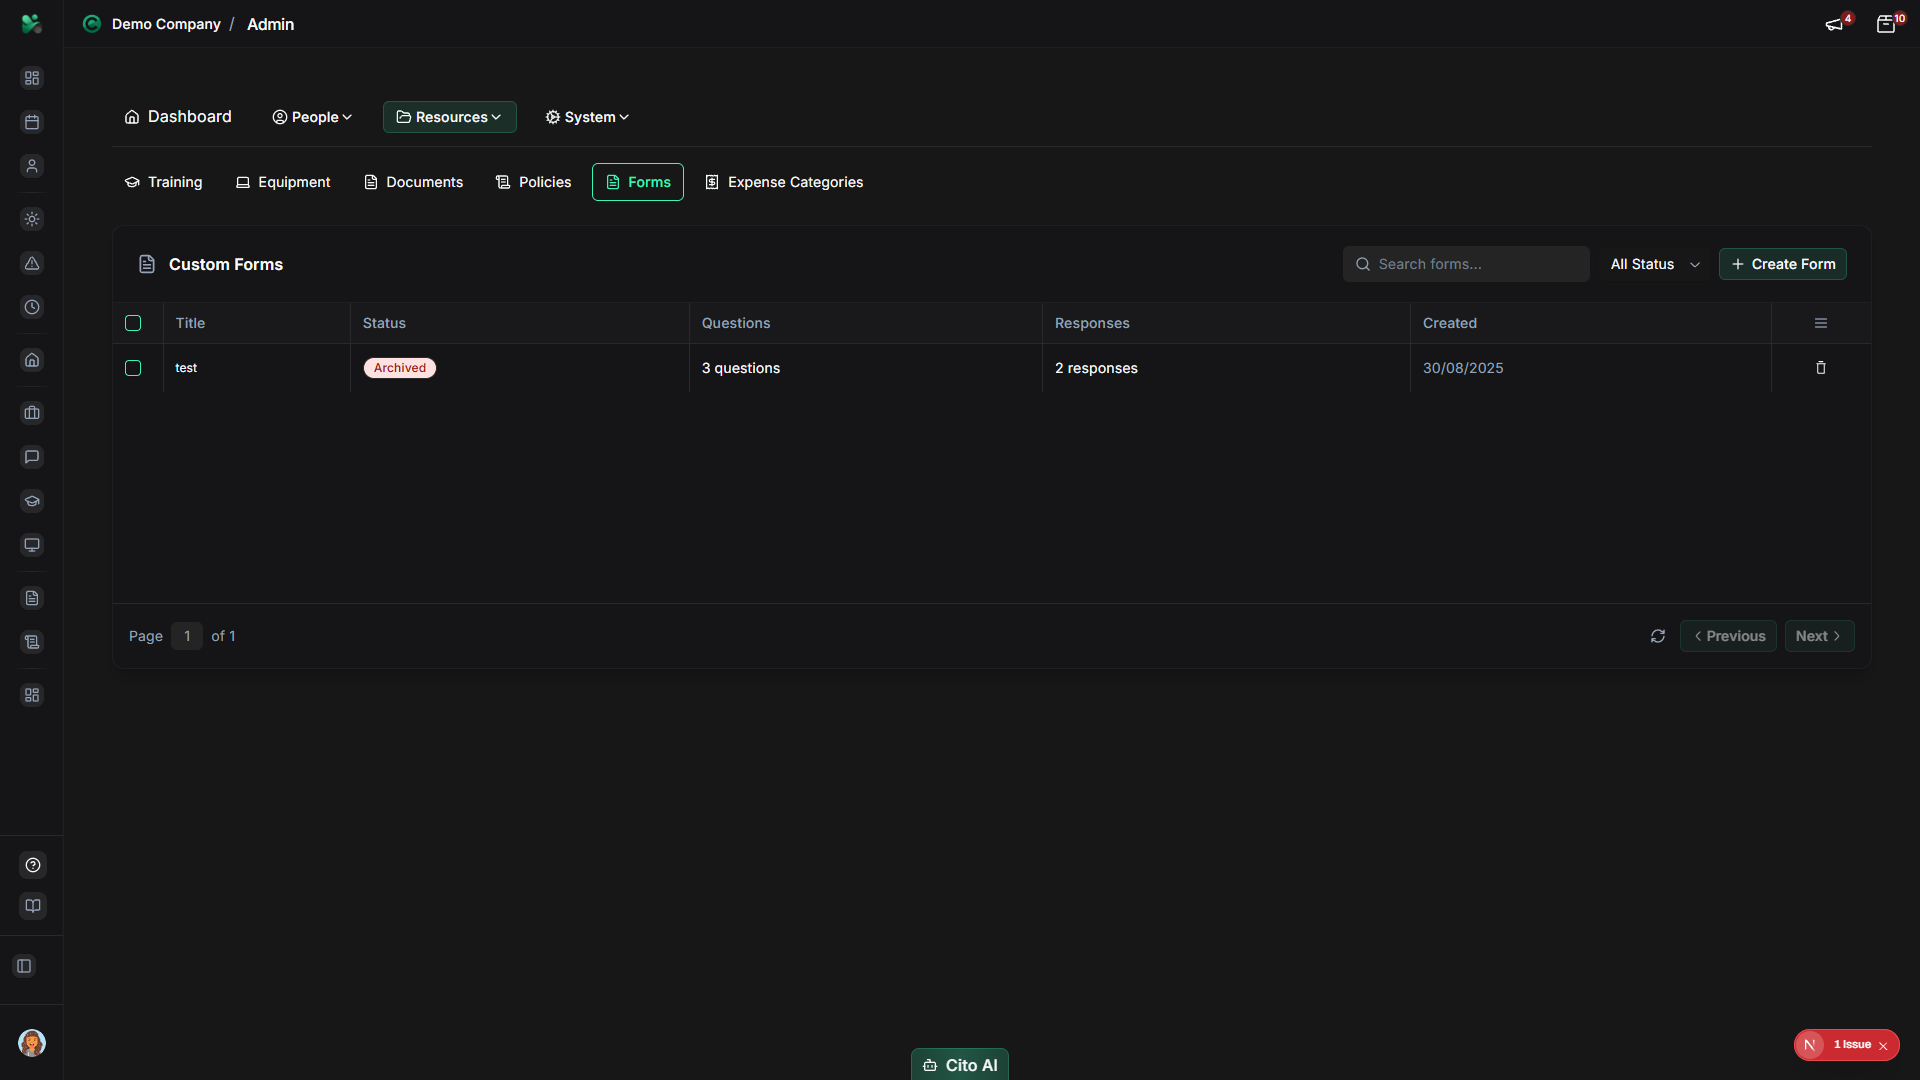
To create a custom form:
- Navigate to Admin > Forms
- Click the "Create Form" or "New Form" button
Setting Basic Information
Start by configuring the form's basic details:
- Enter a Form Title - The name of your form (e.g., "Employee Satisfaction Survey")
- Add a Description (optional) - Instructions or context for respondents
- Set the Form Status to "Draft" while building
Adding Form Fields
Add fields to collect the information you need:
- Click "Add Field" or "New Field"
- Select a field type:
- Text - Single-line text input
- Textarea - Multi-line text input
- Number - Numeric input
- Email - Email address input
- Date - Date picker
- Dropdown - Select from options
- Radio Buttons - Single choice from options
- Checkboxes - Multiple selections
- File Upload - Allow file attachments
- Configure each field:
- Field label
- Placeholder text (optional)
- Required/optional setting
- Validation rules
- Default value (optional)
Setting Field Validation
Configure validation rules to ensure data quality:
- Required - Field must be filled
- Min/Max Length - Text length limits
- Min/Max Value - Number range limits
- Pattern - Custom regex validation
- File Type - Allowed file types for uploads
- File Size - Maximum file size
Tip
Use validation to ensure you receive complete and correctly formatted responses. Required fields help prevent
incomplete submissions.
Organizing Fields
Organize your form for better user experience:
- Drag and drop fields to reorder them
- Group related fields into sections (if supported)
- Add section headers or dividers for clarity
- Use conditional logic to show/hide fields based on previous answers
Publishing and Distributing the Form
Once your form is ready:
- Review all fields and settings
- Change the form status from "Draft" to "Published"
- Click "Distribute Form"
- Select who should receive the form:
- All employees
- Specific departments
- Individual employees
- Custom groups
- Set a deadline (optional)
- Send the form
Viewing Responses
To view form responses:
- Navigate to the Forms page
- Click on your form
- Go to the "Responses" tab
- View individual responses or export all responses
- Use the analytics view to see aggregated data
Related Documentation
- Admin: Forms - Complete forms management guide
- Admin: User Management - Manage employees who receive forms