Admin: Custom Forms Management
Complete guide to creating, distributing, and managing custom forms in CitoHR.
Overview
The Admin Forms section allows you to create custom forms with various field types, distribute them to employees, collect responses, and analyze form data. Custom forms can be used for surveys, feedback collection, compliance forms, onboarding paperwork, and more. This provides a flexible way to gather structured information from employees.
Note
Custom Forms is a Pro feature. Ensure your organization has a Pro subscription to access this functionality.
Prerequisites
- You must have ADMIN role to manage forms
- Custom Forms is a Pro feature - ensure your organization has Pro subscription
Accessing Forms Management
- Log in to your CitoHR account with Admin credentials
- Click on your organization name in the header
- Select "Resources" from the admin menu
- Click "Forms" from the Resources dropdown
- Or navigate directly to /admin/forms
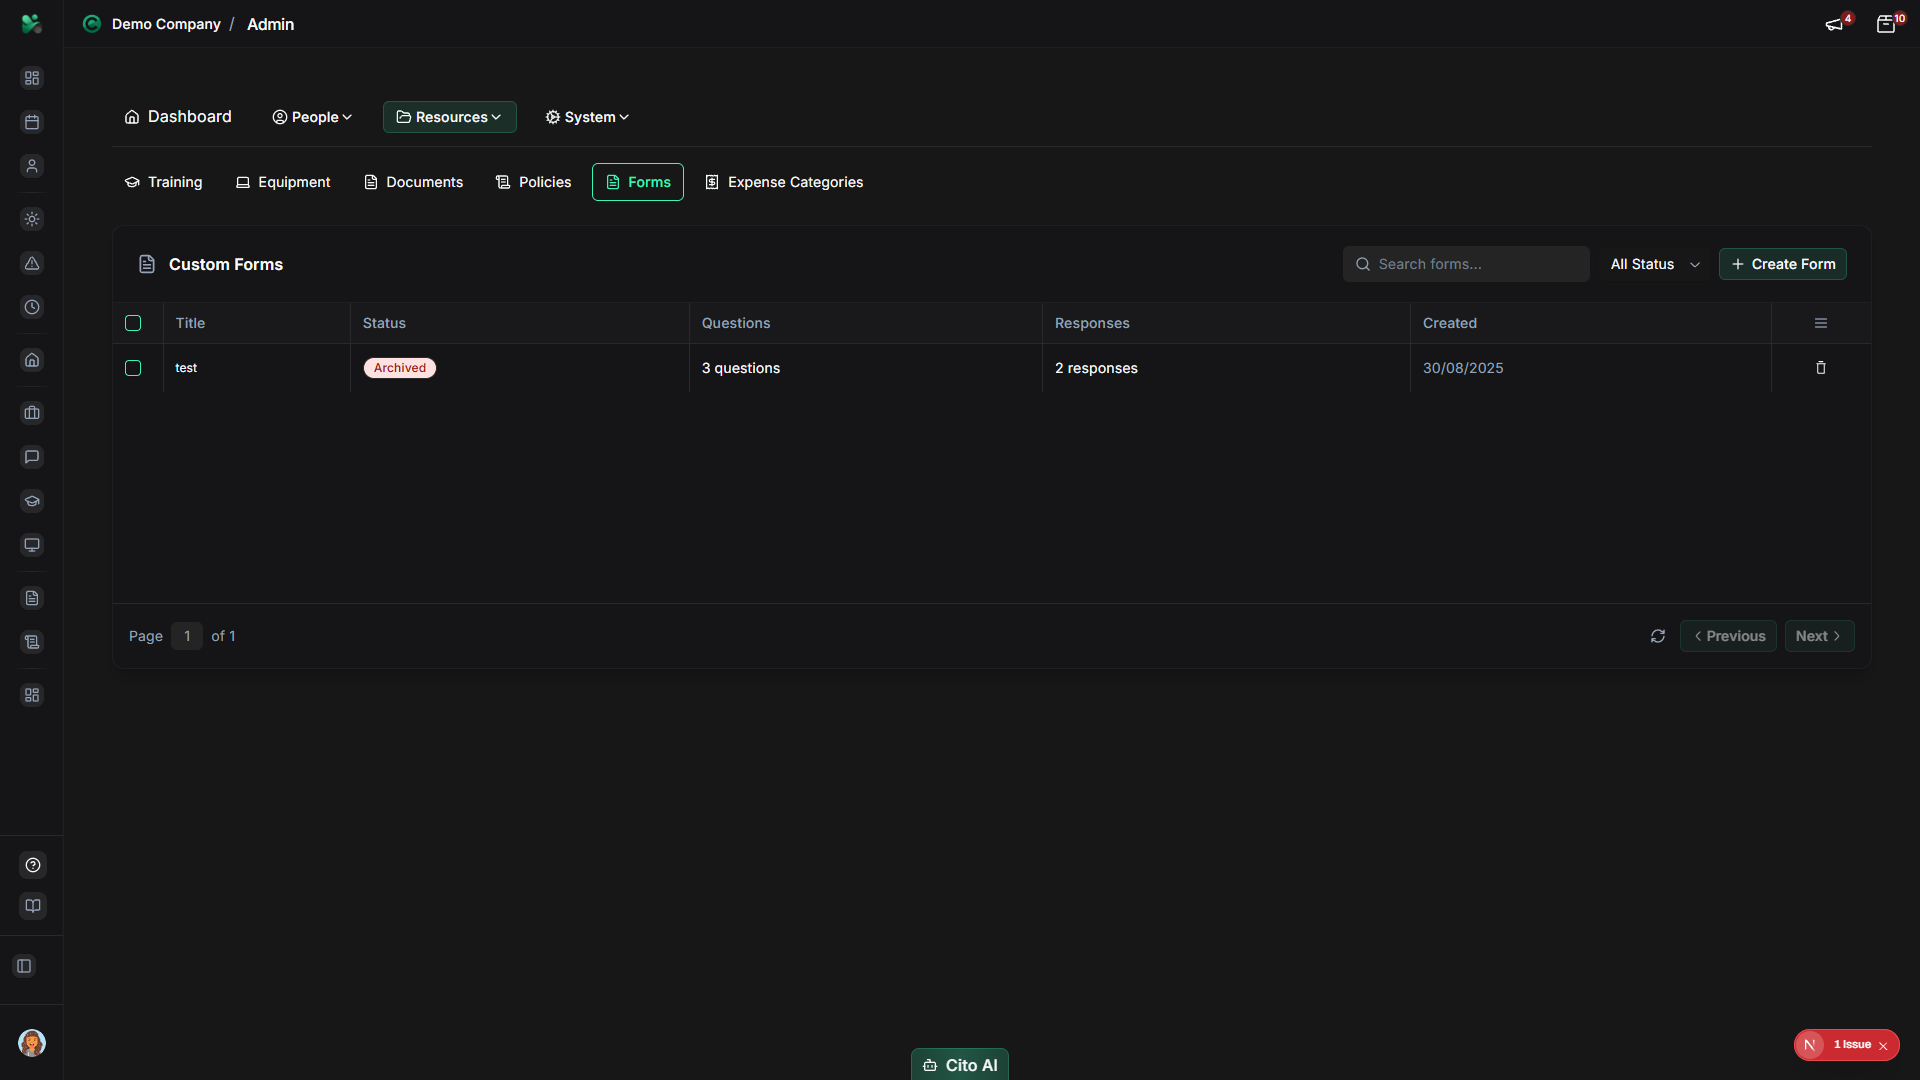
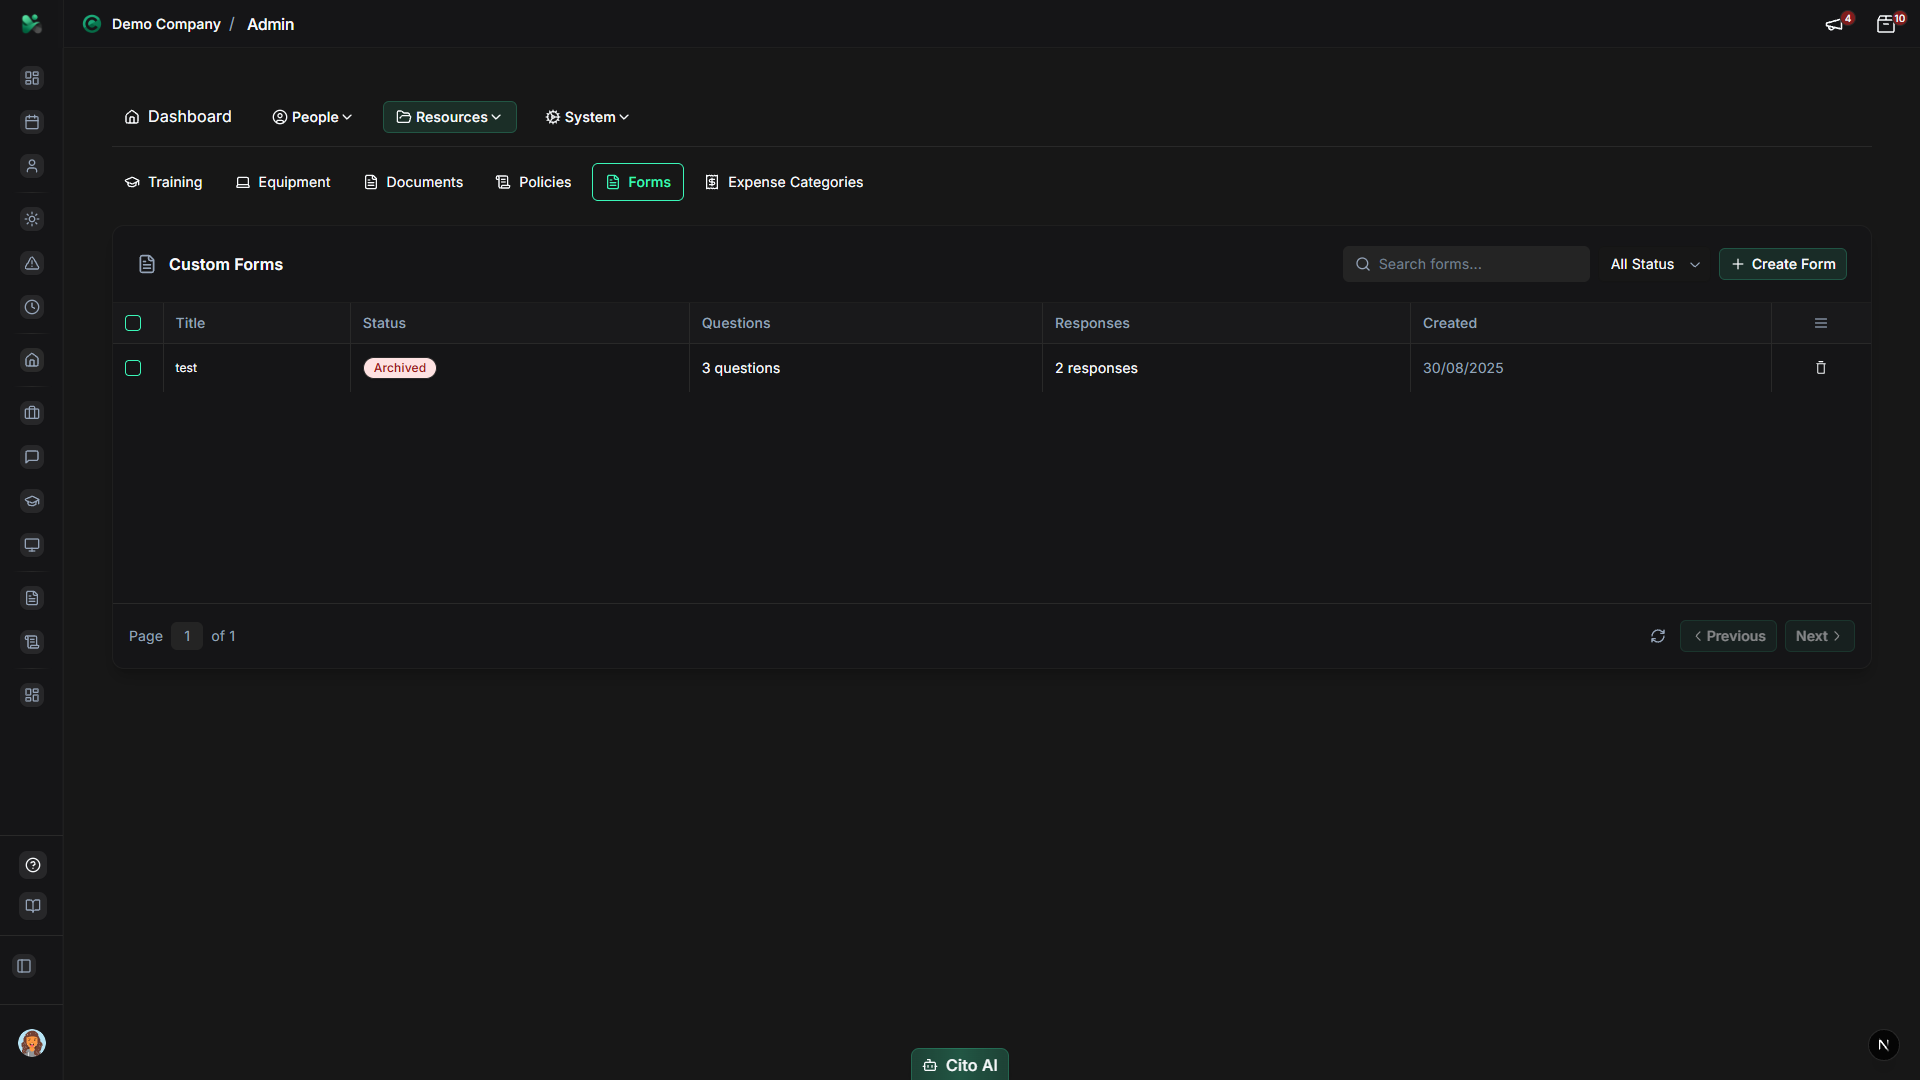
Viewing Forms
See all forms in your organization:
- On the Forms page, you'll see a table listing all forms
- Each form shows:
- Form name/title
- Status (Draft, Published, Closed, Archived)
- Response count
- Created date
- Actions (Edit, Distribute, View Responses, Analytics, Delete)
- Use the search bar to find specific forms
- Filter by status (Draft, Published, Closed, Archived)

Creating a Form
Create a new custom form:
- On the Forms page, click the "Create Form" button (usually top right)
- You'll be taken to the form builder
- Enter basic form information:
- Form Title - Enter a descriptive title
- Description - Add instructions or context for the form
- Add form fields by clicking "Add Field":
- Select field type (Text, Number, Email, Date, Dropdown, Checkbox, Radio, File Upload, etc.)
- Enter field label
- Set if field is required
- Add field-specific options (e.g., dropdown options, validation rules)
- Drag and drop fields to reorder them
- Click "Save Draft" to save without publishing
- Or click "Publish" when ready to distribute

Tip
Start with forms in Draft status to build and test them before publishing. You can preview forms before distributing them.
Distributing a Form
Send a form to employees:
- On the Forms page, find the form you want to distribute
- Click the "Distribute" button or icon
- The distribution dialog will open
- Select recipients:
- All employees
- Specific departments
- Individual employees
- Managers only
- Set a due date (optional)
- Add a message to include with the form
- Click "Distribute" or "Send"
- Recipients will receive a notification and can access the form

Viewing Form Responses
See responses submitted by employees:
- On the Forms page, find the form you want to view responses for
- Click the "View Responses" or "Responses" button
- You'll see a list of all submitted responses
- Each response shows:
- Employee name
- Submission date
- Status (Complete, In Progress)
- Actions (View Details, Export)
- Click on a response to view the full submitted data
- Export responses to CSV or Excel for analysis

Viewing Form Analytics
Analyze form response data:
- On the Forms page, find the form you want to analyze
- Click the "Analytics" button or icon
- View analytics including:
- Total responses and completion rate
- Response trends over time
- Field-level statistics
- Response distribution for dropdown/radio fields
- Average completion time
- Use analytics to understand response patterns and form effectiveness
Editing a Form
Update an existing form:
- On the Forms page, find the form you want to edit
- Click the "Edit" button
- You'll be taken to the form builder
- Make changes:
- Modify form title or description
- Add, edit, or remove fields
- Reorder fields
- Update field settings
- Click "Save" to save changes
- If the form is published, changes will affect future responses
Warning
Editing a published form may affect responses already in progress. Consider closing the form and creating a new version for
major changes.
Closing a Form
Stop accepting new responses:
- On the Forms page, find the form you want to close
- Click the "Close" button or change status to "Closed"
- Closed forms no longer accept new responses
- Existing responses remain accessible
- You can reopen closed forms if needed
Deleting a Form
Remove a form from the system:
- On the Forms page, find the form you want to delete
- Click the "Delete" button or icon
- A confirmation dialog will appear
- Review the warning message carefully
- Click "Confirm" or "Delete" to proceed
- The form and all responses will be permanently removed
Warning
Deleting a form will also delete all responses. Export responses before deleting if you need to preserve the data.
Best Practices
- Use clear, descriptive form titles
- Provide instructions in the form description
- Keep forms concise to improve completion rates
- Mark required fields clearly
- Test forms in Draft status before publishing
- Set appropriate due dates for time-sensitive forms
- Review analytics to improve future forms
- Export responses regularly for backup
- Close forms when no longer needed
Related Features
- Forms (Feature) - How employees view and submit forms
- Reports - Generate form response reports
- Onboarding - Use forms as part of onboarding processes