Dashboard
Complete guide to using the CitoHR dashboard, customizing your view, and accessing key information at a glance.
Overview
The Dashboard is your central hub in CitoHR, providing an overview of key information, pending actions, and quick access to frequently used features. The dashboard content varies based on your role (Employee, Manager, or Admin).
Accessing the Dashboard
- Log in to your CitoHR account
- The dashboard is the default page after login
- You can also access it by clicking Dashboard in the main navigation menu
Understanding Dashboard Widgets
The dashboard consists of various widgets that display different types of information:
- Upcoming Leave - Shows your upcoming approved leave dates
- Pending Approvals - Leave requests, expenses, or other items waiting for your approval (Managers/Admins)
- Recent Activity - Latest updates and notifications
- Quick Actions - Shortcuts to common tasks
- Team Overview - Summary of your team's status (Managers)
- Organization Stats - Key metrics and statistics (Admins)
Employee Dashboard View
As an employee, your dashboard shows:
- Your upcoming leave dates
- Pending leave requests and their status
- Recent notifications
- Quick links to common features (Profile, Leave, Expenses)
- Your leave balance summary
- Upcoming training assignments
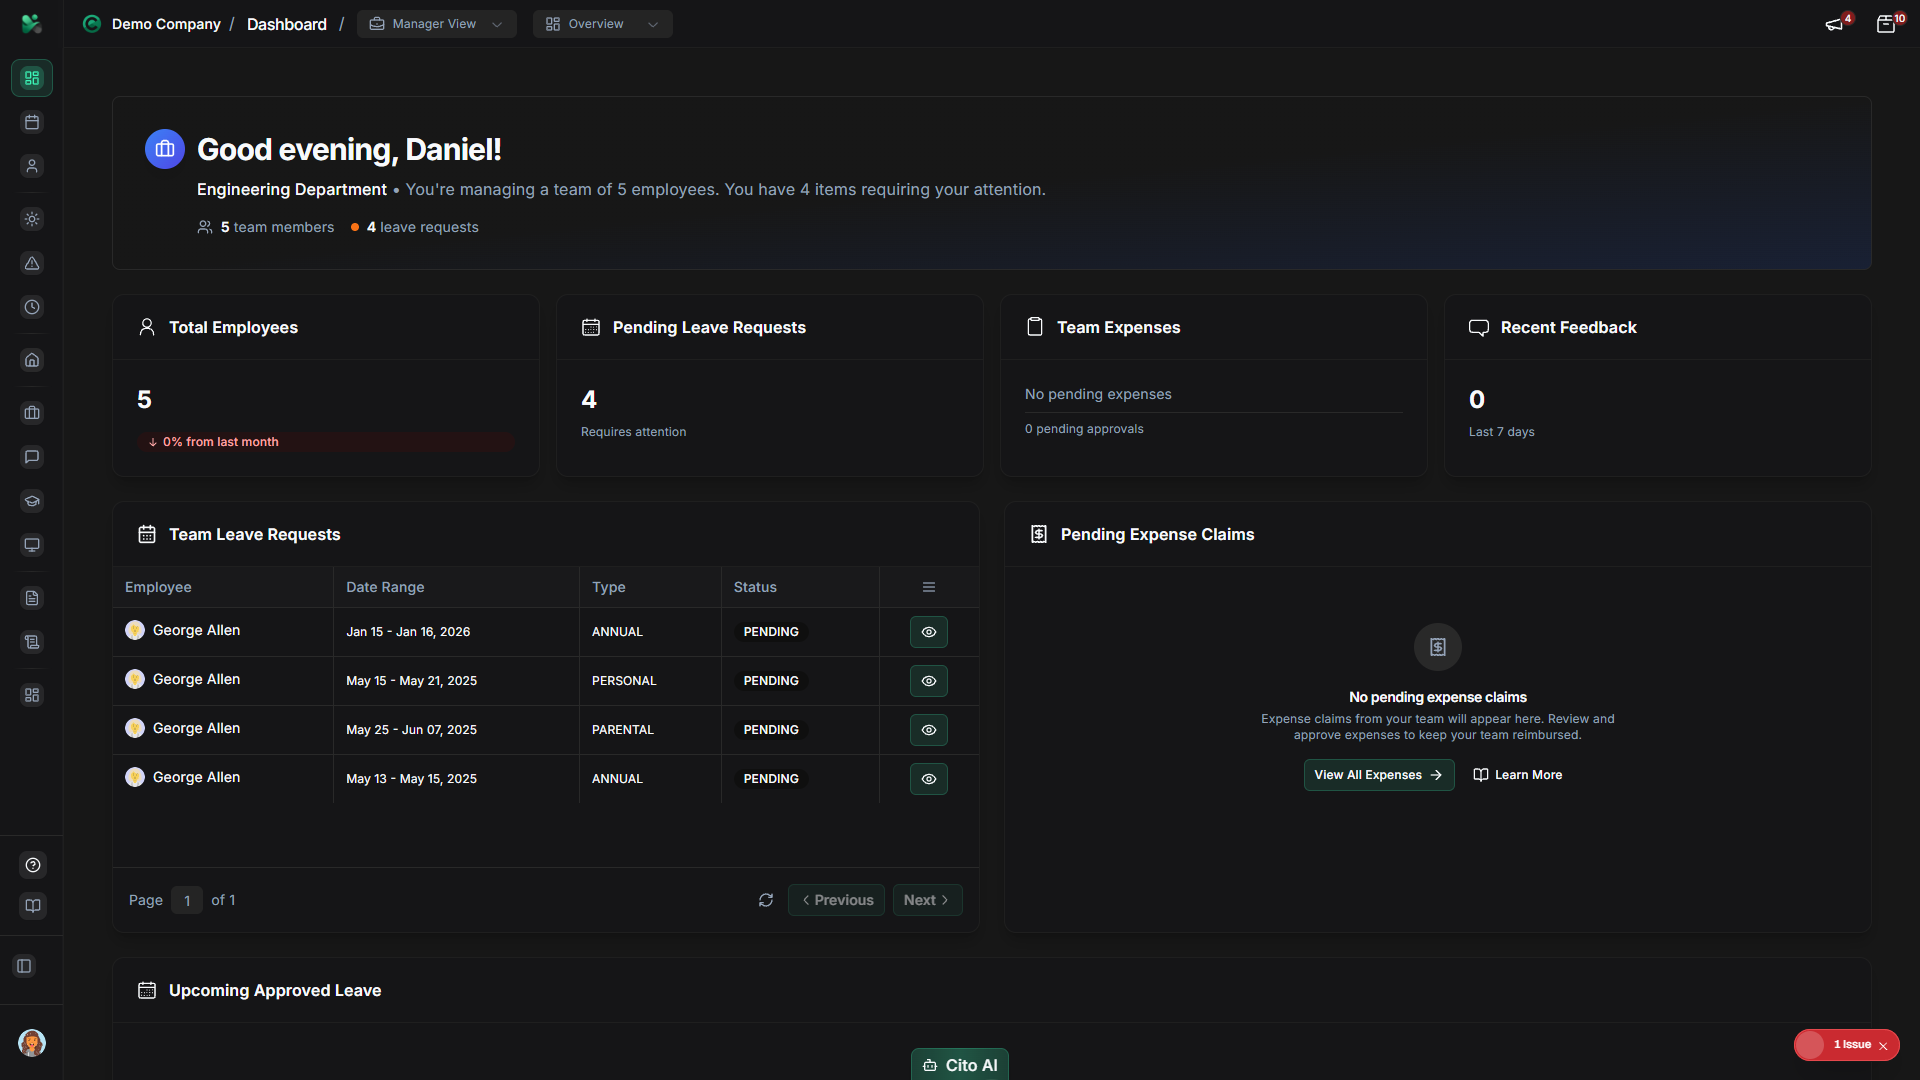
Manager Dashboard View
As a manager, your dashboard includes additional information:
- All employee dashboard features
- Pending approvals (leave requests, expenses from team members)
- Team leave calendar overview
- Team member status and availability
- Team performance metrics
- Upcoming team events and deadlines
Tip
Admin Dashboard View
Administrators see the most comprehensive dashboard:
- All manager dashboard features
- Organization-wide statistics and metrics
- Pending user approvals
- System alerts and notifications
- Recent activity across the organization
- Quick access to admin functions
- Compliance and reporting summaries
Customizing Your Dashboard
Some dashboard widgets can be customized:
- Look for the settings icon or "Customize" button on the dashboard
- Click to open the customization panel
- Toggle widgets on or off to show/hide them
- Drag widgets to reorder them
- Click "Save Layout" to apply changes
Note
Using Quick Actions
Quick action buttons provide shortcuts to common tasks:
- Request Leave - Create a new leave request
- Submit Expense - Create a new expense claim
- View Calendar - Open the calendar view
- Update Profile - Edit your profile information
- View Reports - Access reports (Managers/Admins)
Viewing Notifications
Stay updated with dashboard notifications:
- Look for the notifications icon in the top navigation
- Click to view your notifications
- Notifications may include:
- Leave request approvals/rejections
- Expense claim status updates
- New training assignments
- Policy updates
- System announcements
- Click on a notification to view details or take action
- Mark notifications as read or dismiss them
Refreshing Dashboard Data
Update dashboard information:
- Click the refresh icon (usually in the top right of the dashboard)
- Or simply refresh the page (F5 or Cmd+R)
- Dashboard data typically updates automatically, but manual refresh ensures you see the latest information
Tip
Related Features
- Leave Management - Manage leave requests shown on dashboard
- Expense Management - Submit and track expenses
- Calendar - View detailed calendar information
- My Profile - Update your profile information