Admin: Settings
Complete guide to configuring organization settings, email settings, regional settings, and immigration settings in CitoHR.
Overview
The Admin Settings section allows you to configure fundamental organization settings including company information, email configuration, regional preferences (time zone, date format, currency), and immigration/visa tracking settings. These settings affect how CitoHR behaves throughout the system and ensure proper localization and compliance.
Prerequisites
- You must have ADMIN role to access settings
Accessing Settings
- Log in to your CitoHR account with Admin credentials
- Click on your organization name in the header
- Select "System" from the admin menu
- Click "Settings" from the System dropdown
- Or navigate directly to /admin/settings
Settings Tabs
The Settings page is organized into several tabs:
- Organization - Company name, logo, contact information
- Email - Email server configuration and templates
- Regional - Time zone, date format, currency, locale
- Immigration - Visa tracking and immigration settings

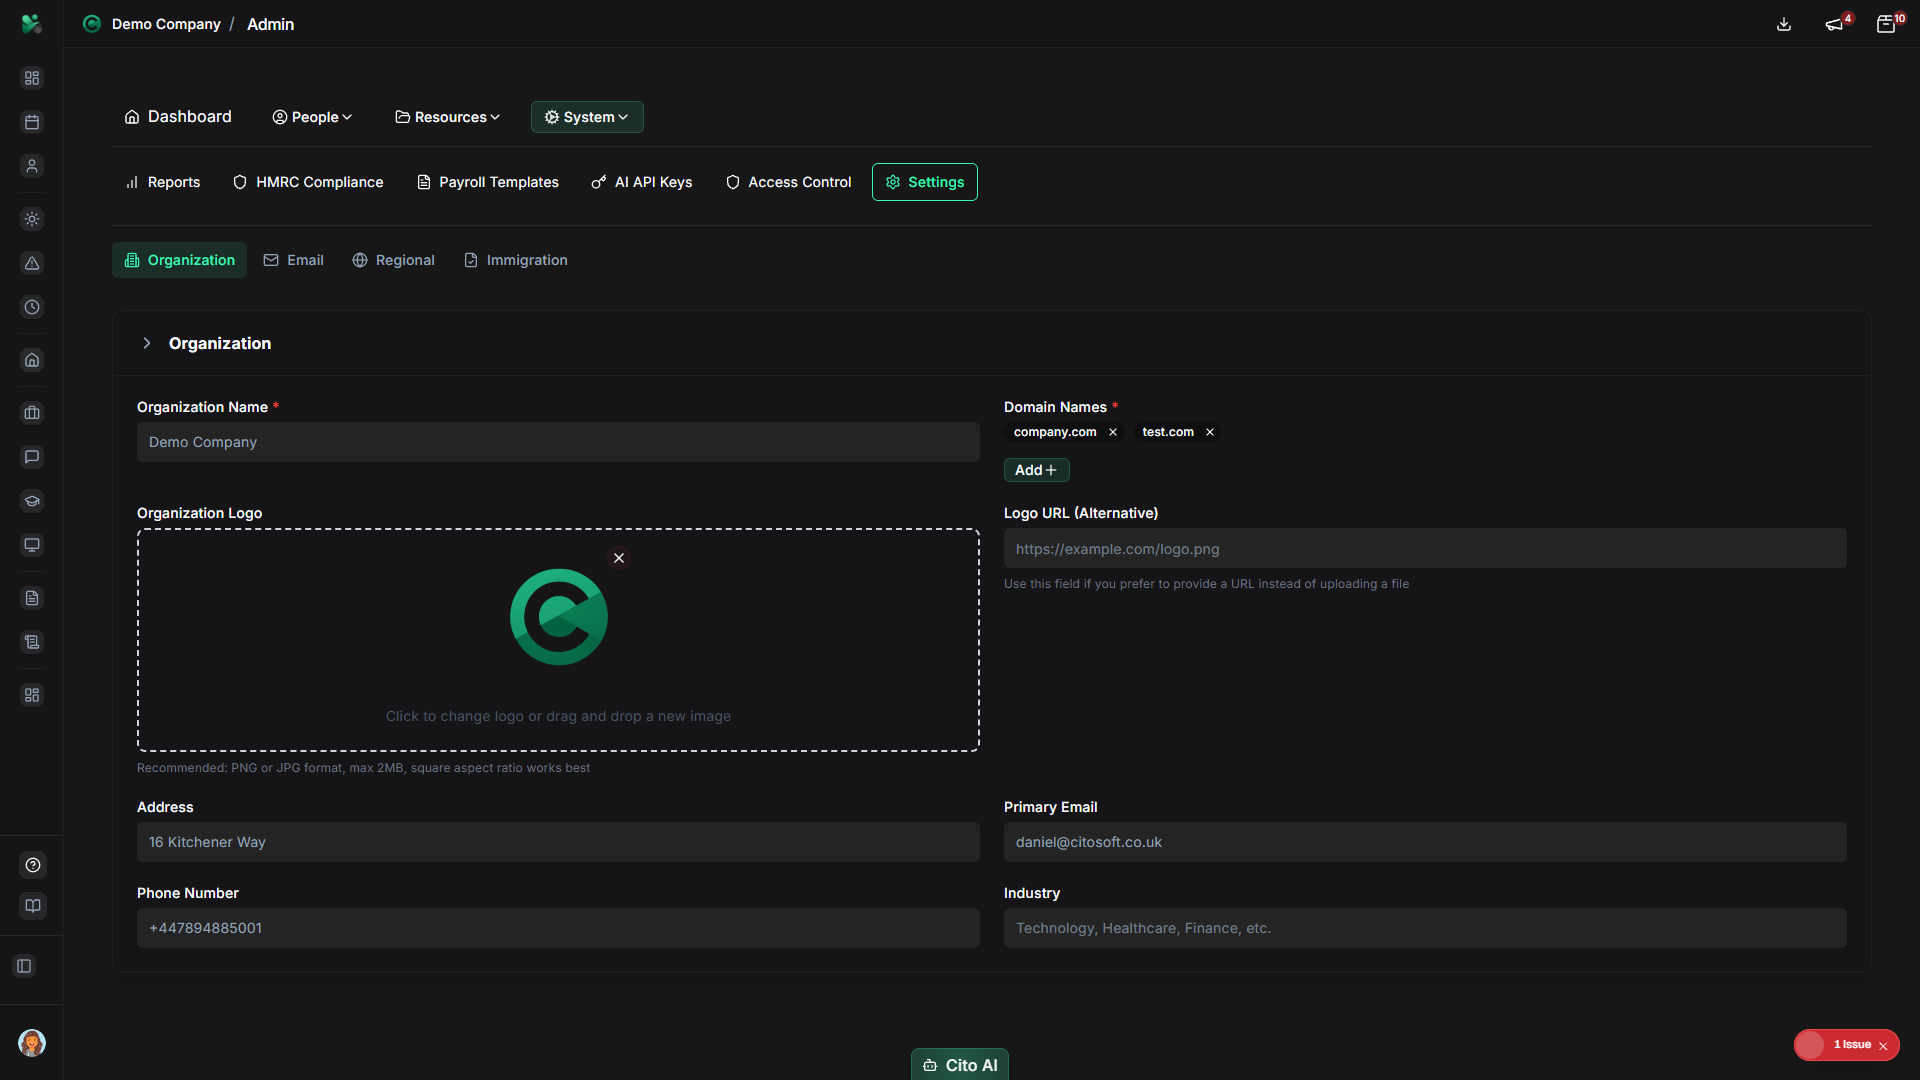
Organization Settings
Configure basic organization information:
- Navigate to the Organization tab
- Update organization details:
- Organization Name - Enter or update your company name
- Logo - Upload or update your organization logo
- Contact Email - Set primary contact email
- Phone Number - Enter contact phone number
- Address - Enter company address
- Other organization-specific fields
- Click "Save" to save changes
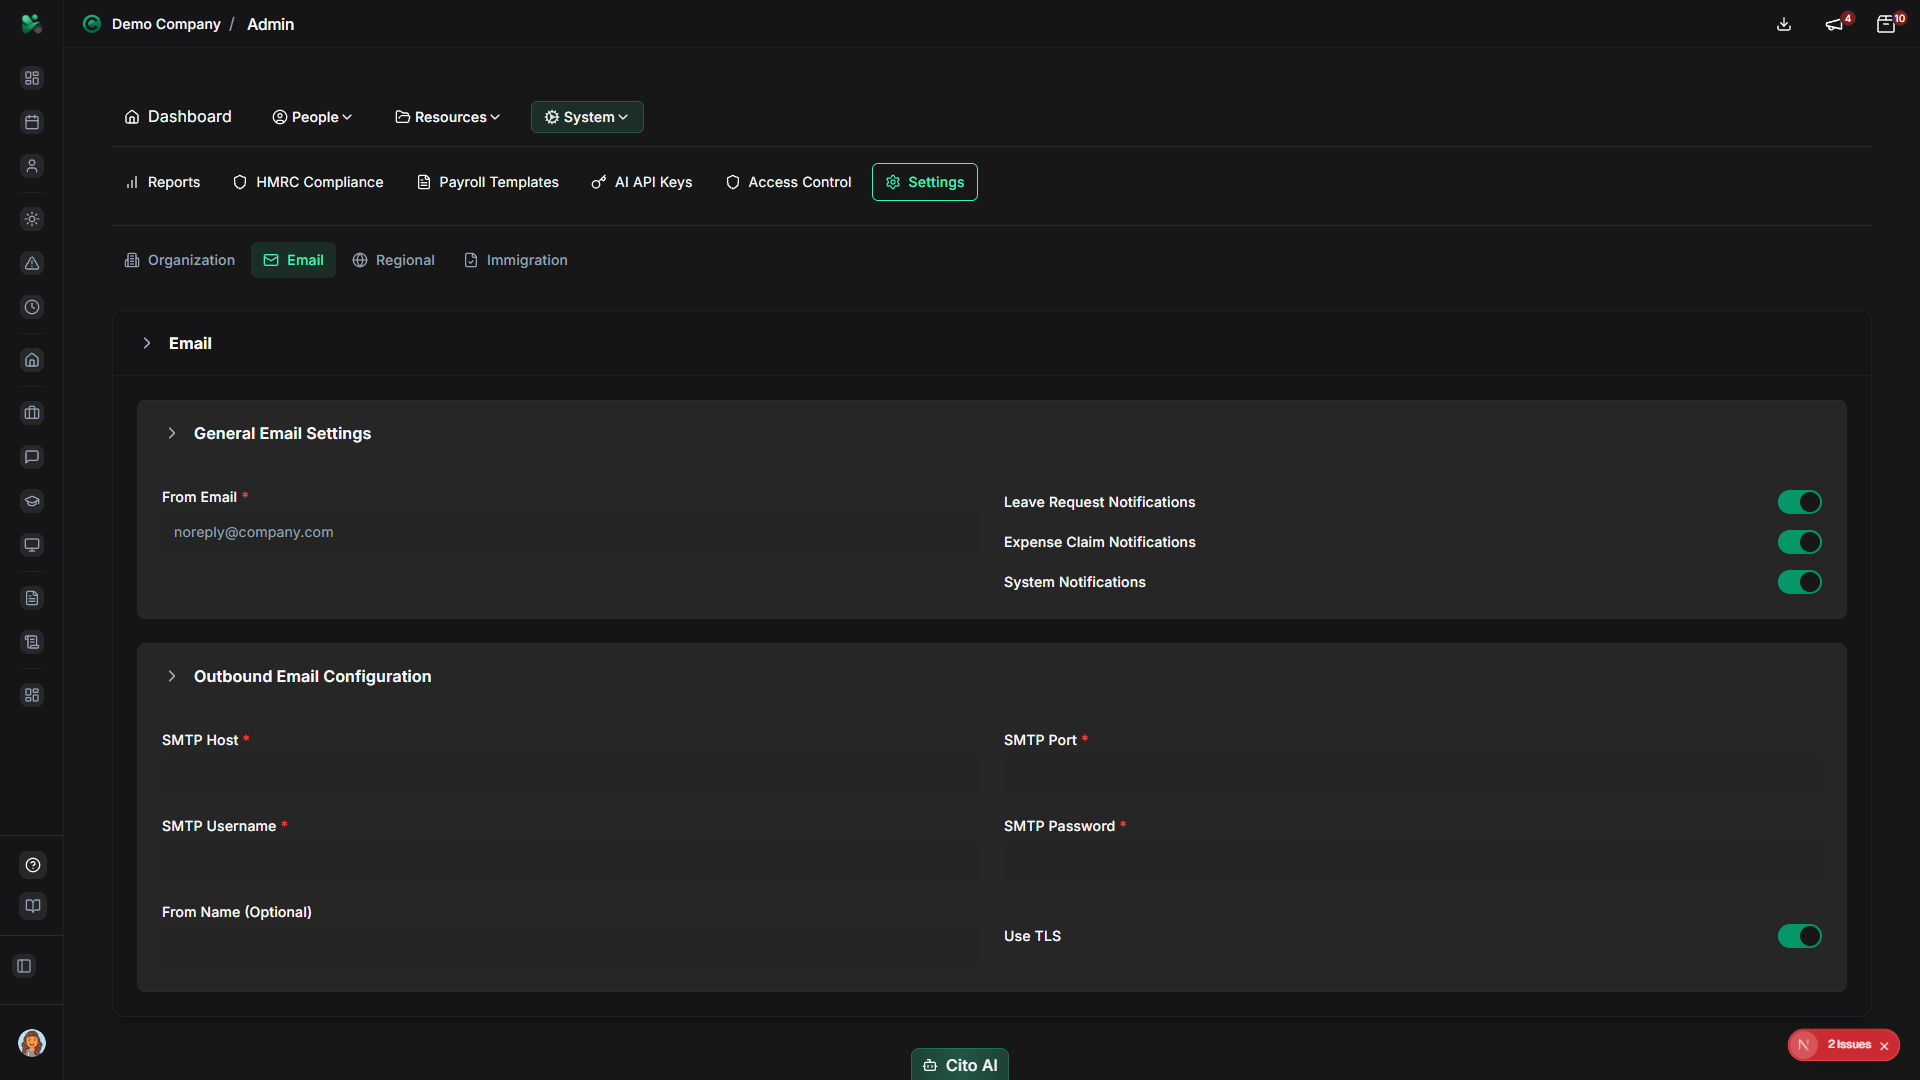
Email Settings
Configure email server and notification settings:
- Navigate to the Email tab
- Configure email settings:
- SMTP Server - Enter your email server address
- Port - Set SMTP port (usually 587 or 465)
- Username/Password - Enter email account credentials
- From Address - Set the "from" email address for system emails
- Email Templates - Customize email templates
- Test email configuration if available
- Click "Save" to save email settings
Tip
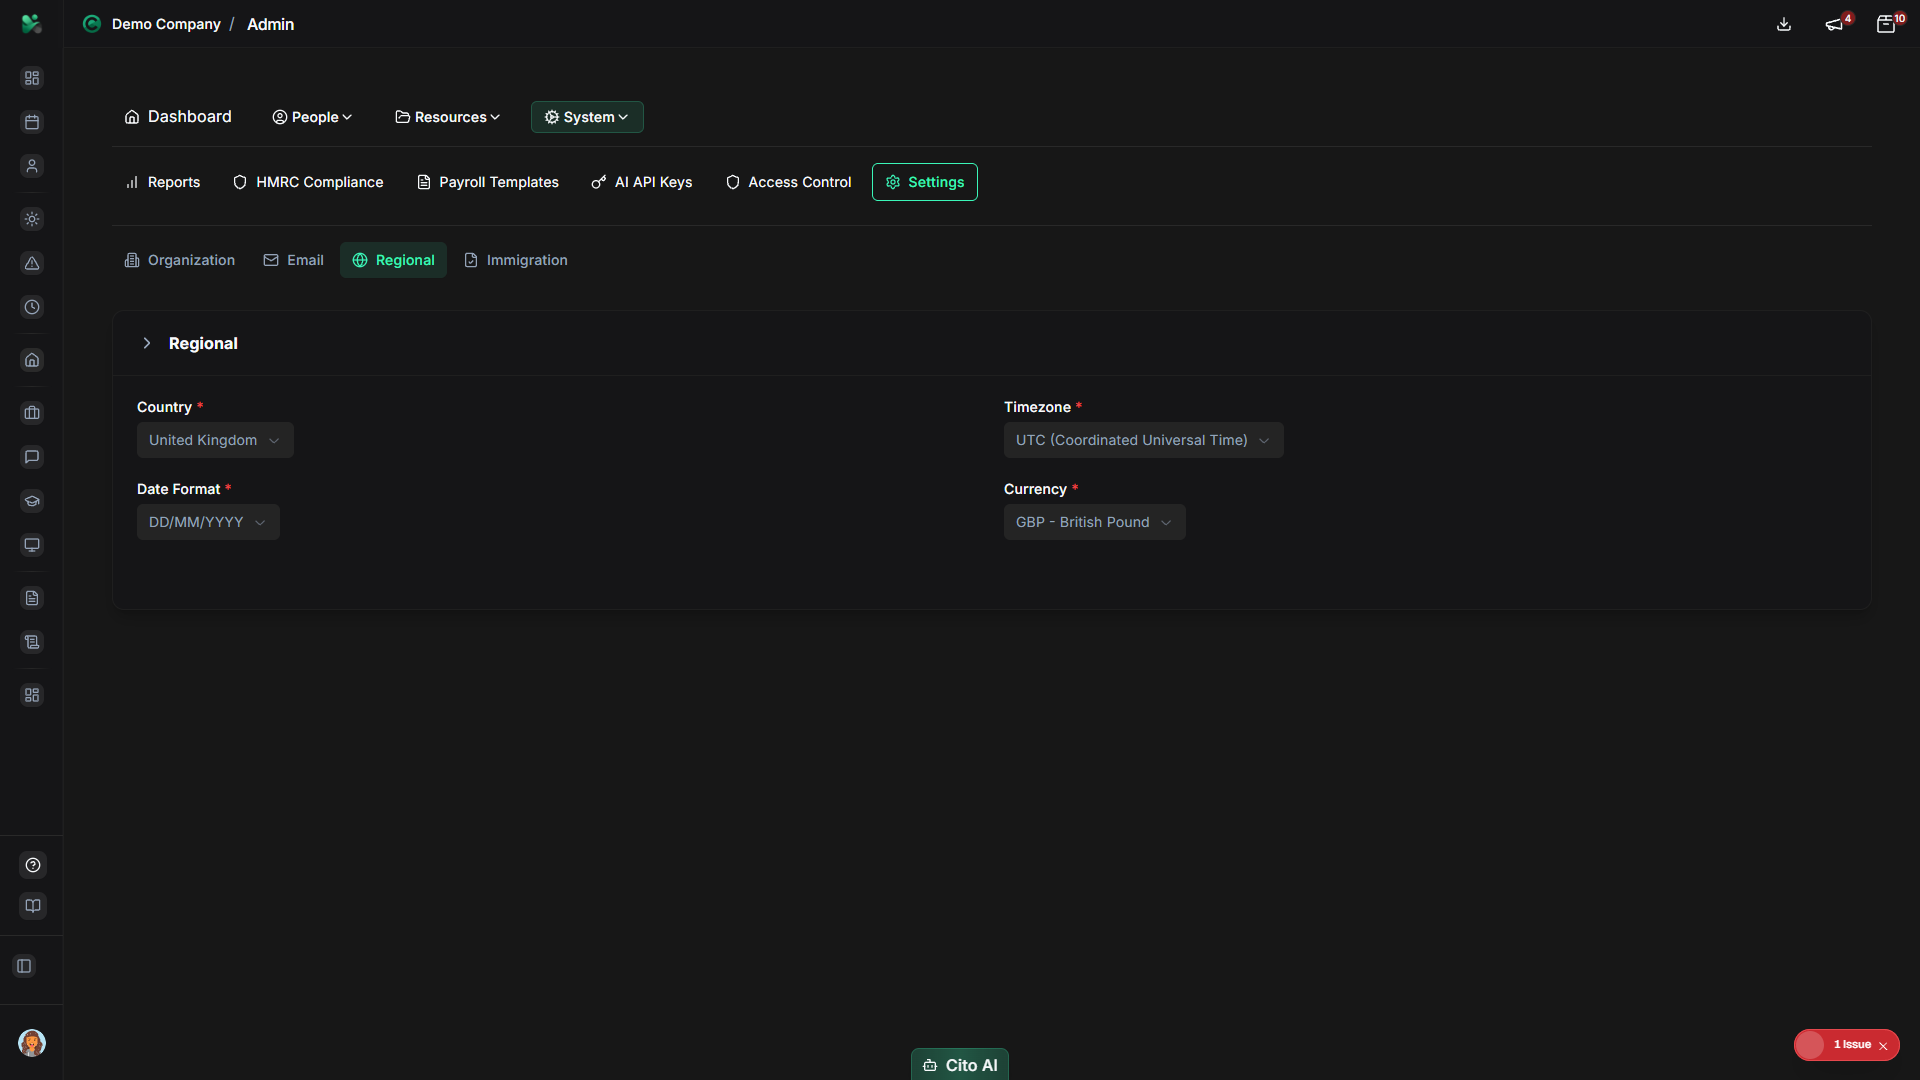
Regional Settings
Configure regional preferences:
- Navigate to the Regional tab
- Configure regional settings:
- Time Zone - Select your organization's time zone
- Date Format - Choose date display format (DD/MM/YYYY, MM/DD/YYYY, etc.)
- Time Format - Choose 12-hour or 24-hour time format
- Currency - Select your organization's currency (GBP, USD, EUR, etc.)
- Locale - Set language and regional preferences
- Week Start Day - Choose which day the week starts (Monday, Sunday)
- Click "Save" to save regional settings
Note
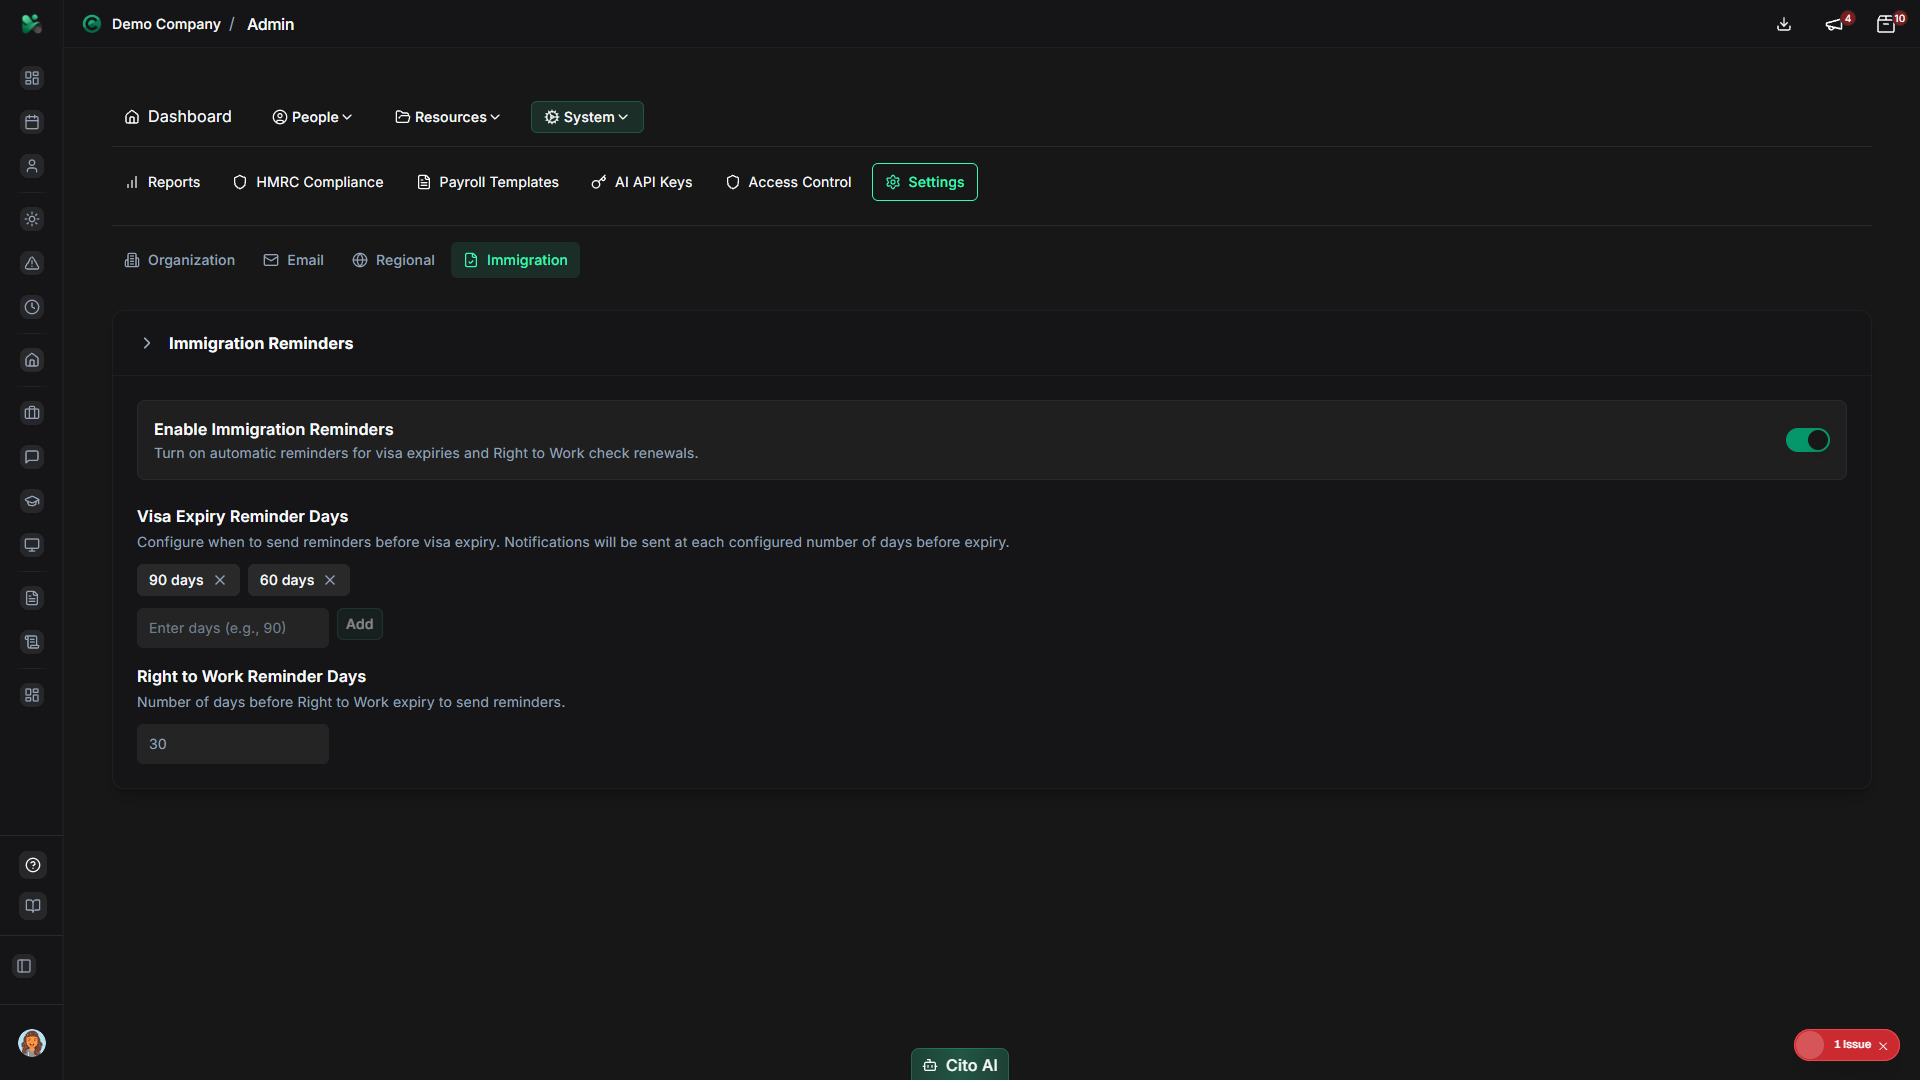
Immigration Settings
Configure immigration and visa tracking settings:
- Navigate to the Immigration tab
- Configure immigration settings:
- Enable Immigration Tracking - Toggle to enable visa/immigration tracking
- Visa Expiration Alerts - Configure how far in advance to alert about expiring visas
- Reminder Settings - Set up automatic reminders for visa renewals
- Other immigration-related configuration options
- Click "Save" to save immigration settings
Note
Saving Settings
Save your settings changes:
- After making changes in any settings tab, click the "Save" button
- A success message will confirm the settings were saved
- Changes take effect immediately
- Some changes may require a page refresh to see
Tip
Best Practices
- Configure settings during initial organization setup
- Set accurate time zone and regional settings for proper date/time display
- Upload your organization logo for branding consistency
- Test email configuration to ensure system emails work
- Review settings periodically and update as needed
- Keep contact information up to date
- Configure immigration settings if you have sponsored workers
Related Features
- HMRC Compliance - Immigration settings support compliance tracking
- Users - Settings affect how user data is displayed and managed